Every year, my girls love to make Candy Boxes for their friends as little Christmas gifts. My Stampin' Up demo,
Gail Murray, taught me how to do these several years ago. I created a tutorial for you, in case you want to make them too.
Warning: lots of pictures in this post!
Finished boxes:
You will need for each box:
- 3 assorted patterned papers
- 3 coordinating scraps of cardstock
- Stamps of your choice: small image for Belly Band, greeting for inside
- Ink
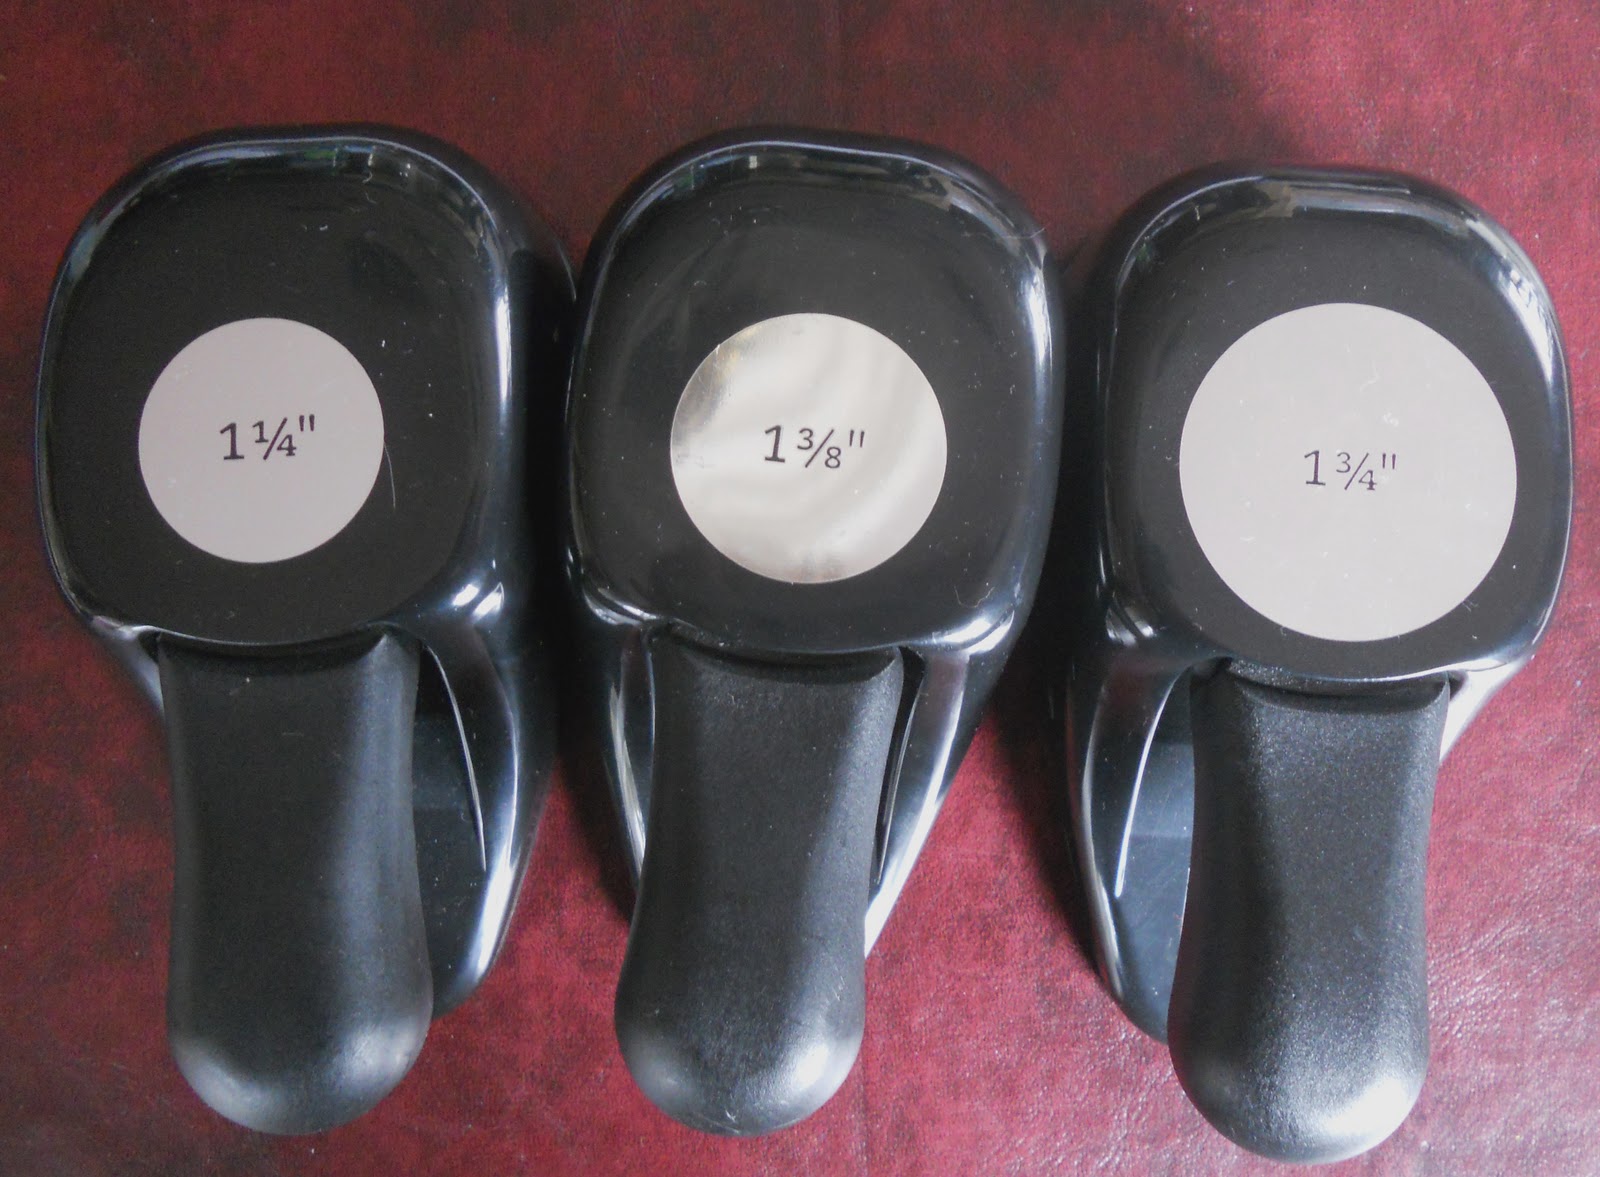
- Circle punches: 1 1/4", 1 3/8", 1 3/4"
- Adhesive
- Paper trimmer & scoring tool
For this tutorial, I have used plain computer paper. I have also drawn lines for demonstration purposes only. Blue lines are for scoring, red dashed lines are for cutting.
For box bottom:
 |
Cut a piece of cardstock or patterned paper into a 6 7/8" square.
Score each side 1 7/8" from edges. |
 |
| Trim off each corner, shown by the red dashes. |
 |
| I use my paper trimmer to cut off the corners by lining up edges of scored lines in the trimmer's 'gutter' or channel. |
 |
| This is what your box bottom should look like. |
 |
| Stamp sentiment or image inside square. |
 |
| Pinch corners of box bottom as shown above and below. |
 |
| Choose to leave corners as they are, or secure with adhesive (even Scotch tape). |
For box top:
 |
Cut a piece of patterned paper into a 5 1/8" square.
Score each side 15/16" from edges. |
 |
Cut each corner as shown, making sure that
cuts all run in the same direction. |
 |
Flip paper over to the side you want as the inside of the lid.
Place double-sided adhesive on corners marked with an "x". |
 |
| Assemble corners as shown and place lid on box bottom. |
For Belly Band:
 |
| Punches needed for label. |
 |
| Stamp image, then punch circles in coordinating cardstocks; assemble with double-sided adhesive. |
 |
Cut 11" x 1" strip of patterned paper.
Adhere label to center of paper strip. |
 |
Lay strip and label over box lid,
centering label. Do not secure. |
 |
Flip box and belly band over.
Place adhesive on one end of band, as shown.
Secure ends to each other. |
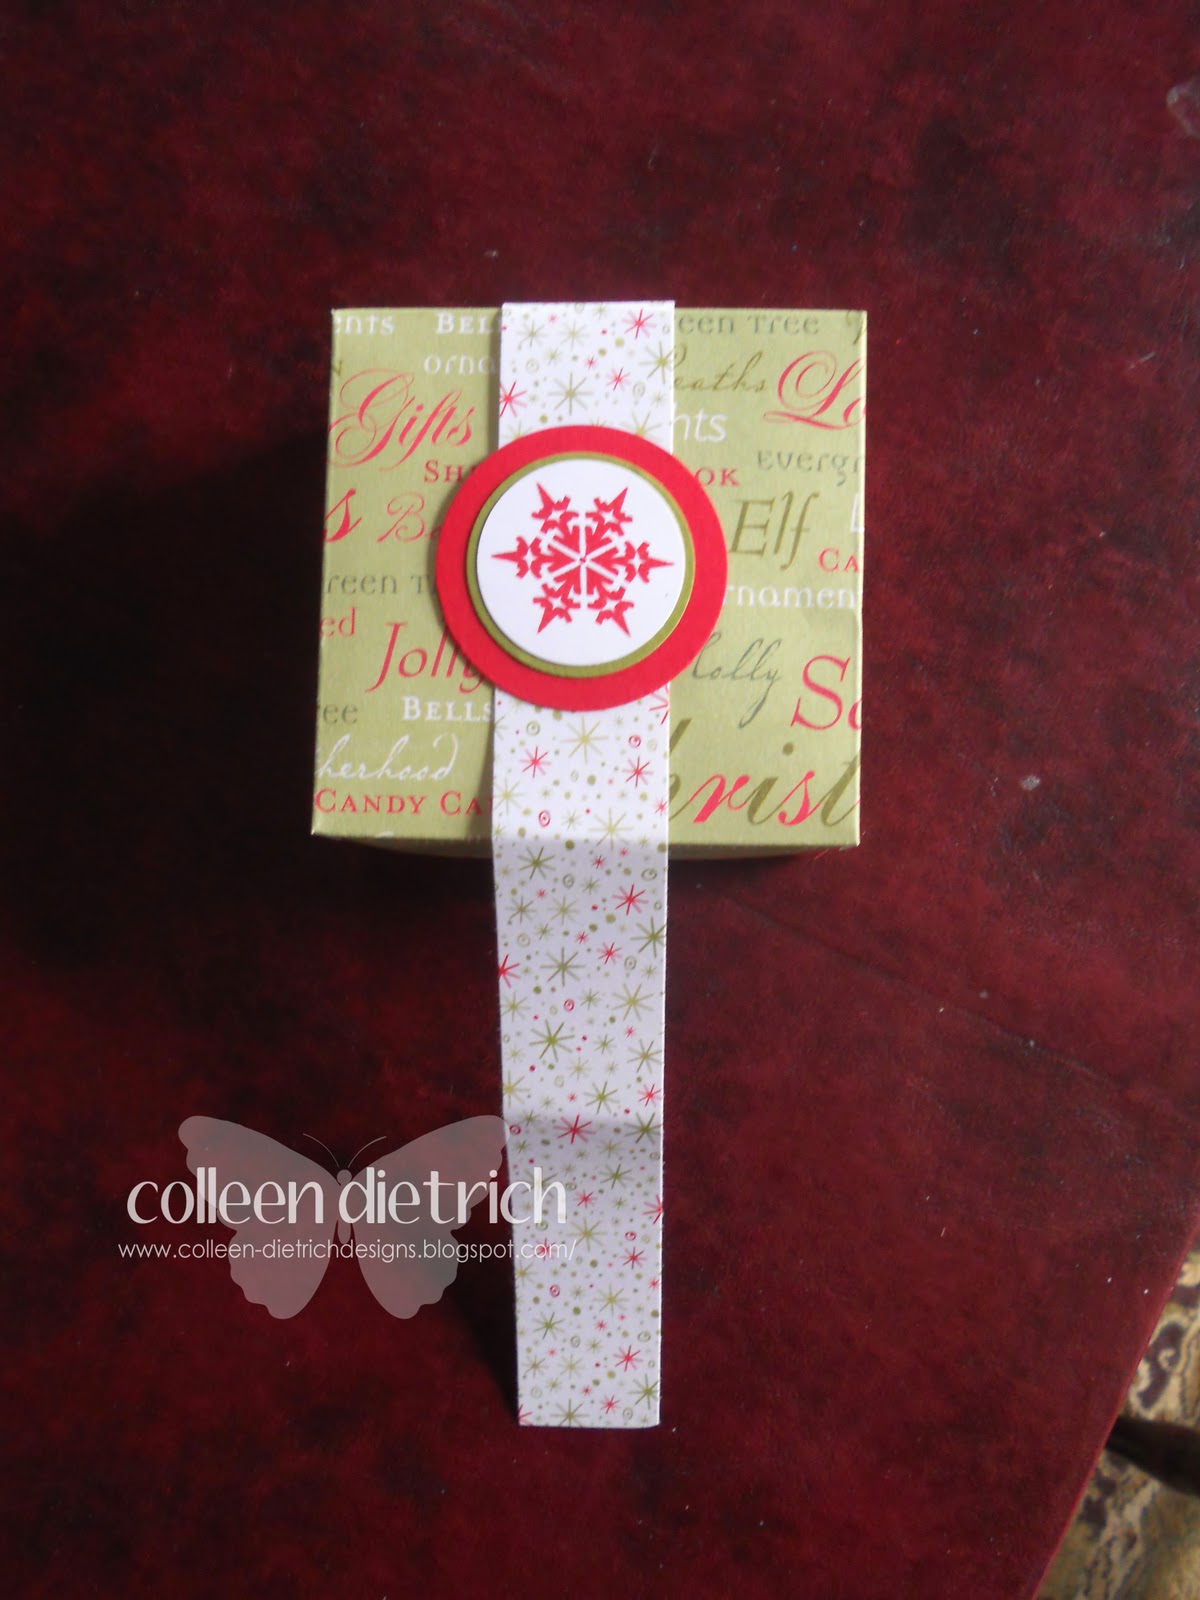
 |
| Completed box. |
The belly band slips off box easily, and helps hold lid and box together in a pretty way.
 |
Our projects, mid-way through assembly.
We need quite a few more! |
I am entering this project at
Tuesday Throwdown, where the challenge is to use our favorite color combo. I LOVE red and green together for Christmas, especially this olive shade of green.
I do hope you have enjoyed this tutorial and want to give these a try. They are easy to make, otherwise, my kids wouldn't want to do them! LOL
Colleen


You were busy with boxes -- awesome job!!
ReplyDeleteWonderful little boxes and decorated so pretty. They look like a good size for a gift card. Thanks for your tutorial, Colleen... I'll try it!
ReplyDeleteWhat an informative post Colleen...love it! SA-WEET little boxes, might have to CASE it for those 1st graders of my DIL's!! Your daughters' friends must love you to bits. Are you the kool-aid house in the nieghborhood haha!!! Have a great day :)
ReplyDeleteHi Colleen
ReplyDeleteGreat tutorial very easy to follow I think I might just have a go. How many have you got to make!!!!!
Take care
Tina
X
Thank you Colleen for the excellent tutorial!! Its perfect for all us visual learners!! You did a superb job! I think I will have to try one or two!!!
ReplyDeleteGreat job on your tutorial-even I could understand with the pictures. :>) I like the colors you used-neat project.
ReplyDeletewonderful tut, colleen, and just in time for gift giving:)
ReplyDeleteSo cute! I have made little boxes but never stamped a message inside - that is soooo fun! You could stamp happy birthday or anything appropriate. I have a friend with a birthday coming up in a couple of weeks and this will be perfect and easily mailed. She loves those Peeps and I think I saw some Christmas ones so I could put one in there as a little surprise! Hope I can find a snowflake one and use snowflake papers!
ReplyDeleteHow many zillion do you have to make?
Chris R. from Iowa
Great gift idea and great tutorial too, Colleen. Looks like you are getting better every day. :-)
ReplyDeleteSuper cute boxes Colleen and thanks for the tutorial!
ReplyDeleteWow! That's lots of pretty boxes, Colleen. What fun to have daughters to craft with. Thanks for the tutorial and now if I can only find time, I would love making some of these.
ReplyDeleteThanks for joining Tuesday Throwdown's challenge this week. Hope to see you again very soon.
These are fabulous :) What a great project to do with your girls. thanks for the tute, may have to make a few with my girl :) Love the final picture - water bottle and cell phone are a must LOL!
ReplyDeleteWhat a wonderful collection of sweet little treat boxes Colleen! Thanks for sharing the tutorial!
ReplyDeleteThey are just lovely. What a great idea and your tutorial is great.
ReplyDeleteHugs, Linda
wow these are amazing... I am so going to have to try these... Thanks for sharing..
ReplyDeleteColleen, these boxes are fabulous and I love that you gave us the tutorial! I'll be making these for Christmas fudge. Thanks for joining us at Tuesday Throwdown this week.
ReplyDeleteNanaConnie TT DT
What a fabulous tutorial--you are amazing, COL!!! LOVE ya!
ReplyDeleteYour tutorial is FAB Colleen, and those boxes are just so CUTE! Thx for taking the time to take all of those pics!
ReplyDeleteThese are adorable, Colleen! Thanks for including the instruction!
ReplyDeleteYou have been a busy busy girl! Way to go and so very cute!
ReplyDeleteThese are so cute! Thanks for the directions.
ReplyDeleteWhat a great idea for the holidays! Super teacher gifts, thanks so much for the directions! Those boxes are just adorable!
ReplyDeleteGreat tutorial Colleen, I must start working on mine soon!
ReplyDeleteWow! You've been busy Colleen. Love these boxes. Thanks for the directions. :o)
ReplyDeleteThese are wonderful. What a great tutorial. I might have to make a couple of these for my boys girlfriends. I bought them some Betsey Johnson Jewelry I need boxes for to wrap them up. These are so cool.
ReplyDeleteWhat a great tutorial, girl! Super cute and useful, little boxes, too! TFS!
ReplyDelete