Showing posts with label Mark's Finest Papers. Show all posts

Monday, November 17, 2014

A Mellow Moss kind of Christmas...and news

Whoo hoo!  Time for me to start posting some Christmas cards.  It's not far off.  Yikes!  I never feel prepared, even though the date never changes from year to year.  ;-)

Both cards featured today have something in common:  a Mellow Moss card base.  The first card sports a 'tree' (branch stamp from All That Glitters - Flourishes), with a punched ornament dangling from it.  The Stampin' Up! Ornament Punch has white-embossed flowers from Elements of Style on it.  The sentiment is from a Mark's Finest Papers set, the name of which I don't recall.  It's long gone.


The next card has the same K & Co. die cut strip with a holly pattern, but the focal point is a bit different.  The scalloped oval was stamped with Inspired By Stamping's Festive Frames foliage and sentiment.  I topped it off with a snippet of more K & Co. goodness:  holly leaves and berries die cuts.


These cards made good use of some snippets I had on hand, and it made the creating go much faster.

As for my news:  sadly, I've had to step down from The Card Concept design team.  I've got too much on my plate in my personal life.  Being on a DT is a challenge for me right now, so I had to say goodbye.  I really like the ladies at The Card Concept.  Everyone is so easy going, supportive and kind.  I will miss being part of their team.

Have a wonderful day, and thanks so much for stopping by.  :)

Monday, March 24, 2014

Bits & Pieces Make For A HUGE Post!

Okay, so about a month ago, before I started the new job, I was on a ROLL with my cards.  The creative juices just burst forth, and I was cranking them out.

Believe it or not, all the cards you are about to see were created in the span of less than a week.  AND, I used TONS of 'Bits & Pieces' that were cast-offs from other projects.  I am so proud that I was able to successfully work them into new creations.


Bits & Pieces used:

  •  a panel stamped with Market Street Stamps' Vintage Wallpaper (brown ink on white cardstock).  It looked too stark, so I inked up a piece of waxed paper from the kitchen with Tattered Rose Distress Ink.  I let the ink bead up, then wiped the cardstock through the ink.
  • a hand-trimmed banner stamped with a Hero Arts sentiment. 


 Bits & Pieces used: 

  • panel of white cardstock stamped with Market Street Stamps' Grace background, in navy.
  • a scalloped square punch, stamped with a Stampin' Up! image/sentiment.  I don't know the name of this set, because this little piece was in a Scrap Bag from my SU demo.


Bits & Pieces used: 

  • the Verve Joy For The Journey sentiment, already stamped on an oval die cut
  • a butterfly from Lost Coast Designs' Butterflies that was colored and trimmed


Bits & Pieces used: 

  • Stampin' Up!'s Eiffel Tower from Artistic Etchings, already trimmed.
  • clouds from Inspired By Stamping's The Sky's The Limit.
  • a bit of twill tape - I stamped a sentiment from IBS's Celebrating Two Years.
  • shimmery aqua cardstock from California Paper Goods.  It was sent as a sample with an envelope order years ago.  I used an oval die to cut it and made it part of the background.
  • a manilla tag from one of my daughters' clothing.


Bits & Pieces used: 

  • a flower from Stampin' Up!'s Sweet Summer, already stamped and colored.  I added a sentiment from Wplus9's Fresh Cut Florals, surrounded by a Darice Doily Lace embossed background.


Bits & Pieces used: 

  • a cream-colored panel, stamped with I think a Stampin' Up! flower spray.  I cannot recall where this came from!
  • the sentiment from Verve's Joy For The Journey, done up on two sizes of oval punches.
  • a bit of burlap ribbon, which I had hacked up for use on another project.  The ribbon had French wire along the edges.  On the other project, I did not want the wire, so I cut out the center portion of the ribbon only.  I was left with a raggedy edge of burlap with wire.  I wound it around and around to make a nest.  Pearls became eggs. 


Bits & Pieces used: 

  • a pale yellow die cut tag from Stampin' Up! from a LONG time ago, stamped with a Verve Joy For The Journey sentiment.
  • white Lattice / EK Success strips to use as edging.
  • K & Co. photo mat paper, already cut up from another project.


Bits & Pieces used: 

  • another bit of twill tape, again stamped with the same IBS sentiment mentioned up above.
  • the vellum flower with gem, lifted from a store-bought card that was sent to my daughter a few years ago.


Bits & Pieces used: 

  • an embossed panel of cardstock from a Stampin' Up! Scrap Bag.  I added iridescent Stickles to parts of the snowflakes.
  • a piece of shimmery mint cardstock, sent as a sample from California Paper Goods years ago.


Bits & Pieces used: 

  • a red die cut, made with Spellbinders' Persian Motifs.
  • pipe clean candy canes, lifted from a store-bought Christmas card we received.
  • a scrap of floral Real Red patterned paper (SU).


Bits & Pieces used: 

  • pretty much the whole front panel!  LOL  A thoughtful friend, unwilling to throw away the Christmas card I made for her, asked if I would like it back so I could use parts of it for a future card.  I cut off the back of the card, trimmed the front panel a bit, and mounted it onto a Soft Suede card base.  I added a few red gems to the corners. 


Bits & Pieces used: 

  • a sliver of fancy black striped Stampin' Up! designer paper.
  • a scrap of white cardstock that had been stamped in black with Market Street Stamps' Vintage Wallpaper.
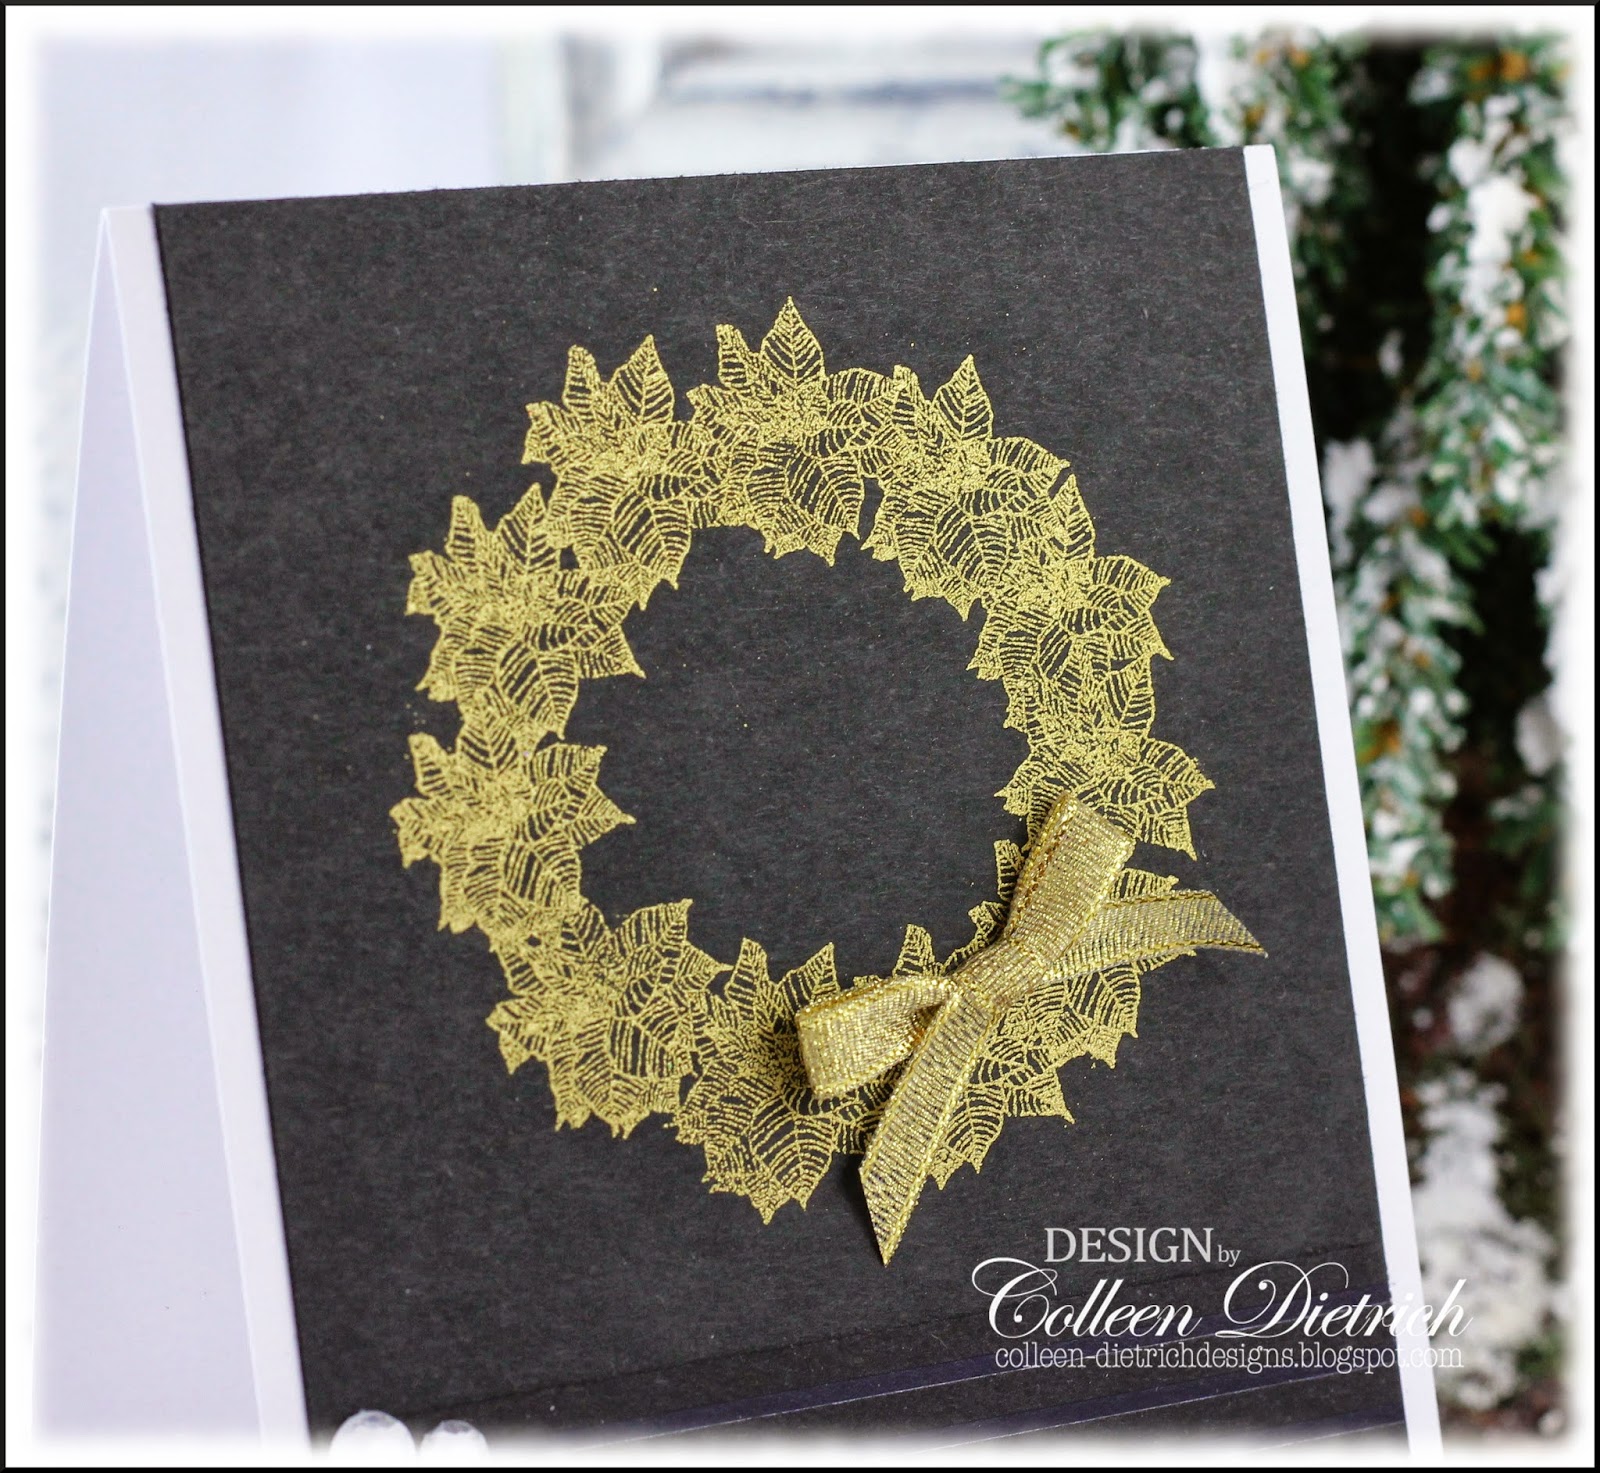
  • a black panel, featuring a poinsettia image from Mark's Finest Papers, which had been stamped and embossed in gold.  I added a little gold bow. 


Whew!  Because of the quantity of cards in this one post, I am not going to list all supplies used.  If you're wondering about any particular item, please leave a comment with your question (and a way to reach you), and I'd be happy to answer!

Wednesday, January 30, 2013

Making It Better + Blog Candy!

A long, long time ago (or so it seems), I created a tag using the collage stamping technique (there's a good tutorial at Splitcoast HERE).  It was all good and fine, but every time I looked at the tag, it seemed somehow incomplete and so I never gave it away.

The other day I took it out and trimmed off the top portion so I could create a card with it instead.  I like this version MUCH better!


Here's the original tag - and if you wish to see the original post, click HERE:


The card background is embossed with Ornate Flowers, Leaves & Twirls by Sizzix, and I added a glittery Petaloo flower and fancy Amira Flourish die cut by Memory Box to the former tag.


Ah!  That's SO much better!  Thanks for visiting me today.  :-)  I appreciate it so much!

BLOG CANDY ALERT:  Over at Inspired By Stamping Inspiration Challenge, there's a chance to win blog candy on the first of the month:   a $25 gift card to the IBS store!  Don't forget to head over there on February 1st.  :-)


Dimensions: 4.25" x 5.5"
Stamps: assorted Mark's Finest Papers stamps
Paper: So Saffron, Crumb Cake, Whisper White - SU
Ink: Scattered Straw, Frayed Burlap, Old Paper, Tattered Rose, Walnut Stain - Ranger
Other: flower - Petaloo; Amira Flourish die - Memory Box; Scalloped Border punch - SU; Ornate Flowers, Leaves & Twirls embossing folder - Sizzix

Sunday, August 5, 2012

Two Tone Lilac

Hello everyone!  I'm popping in with a quick post today.


I made this quite a while ago, but never showed it to you all.  I had tried to get this published, but no one took me up on it.  :(   At this point, I cannot submit because this sentiment is from a retired set, and if you want to get in a magazine, you need fresh, current supplies.

It's okay -- I am just as happy to share this on my blog!


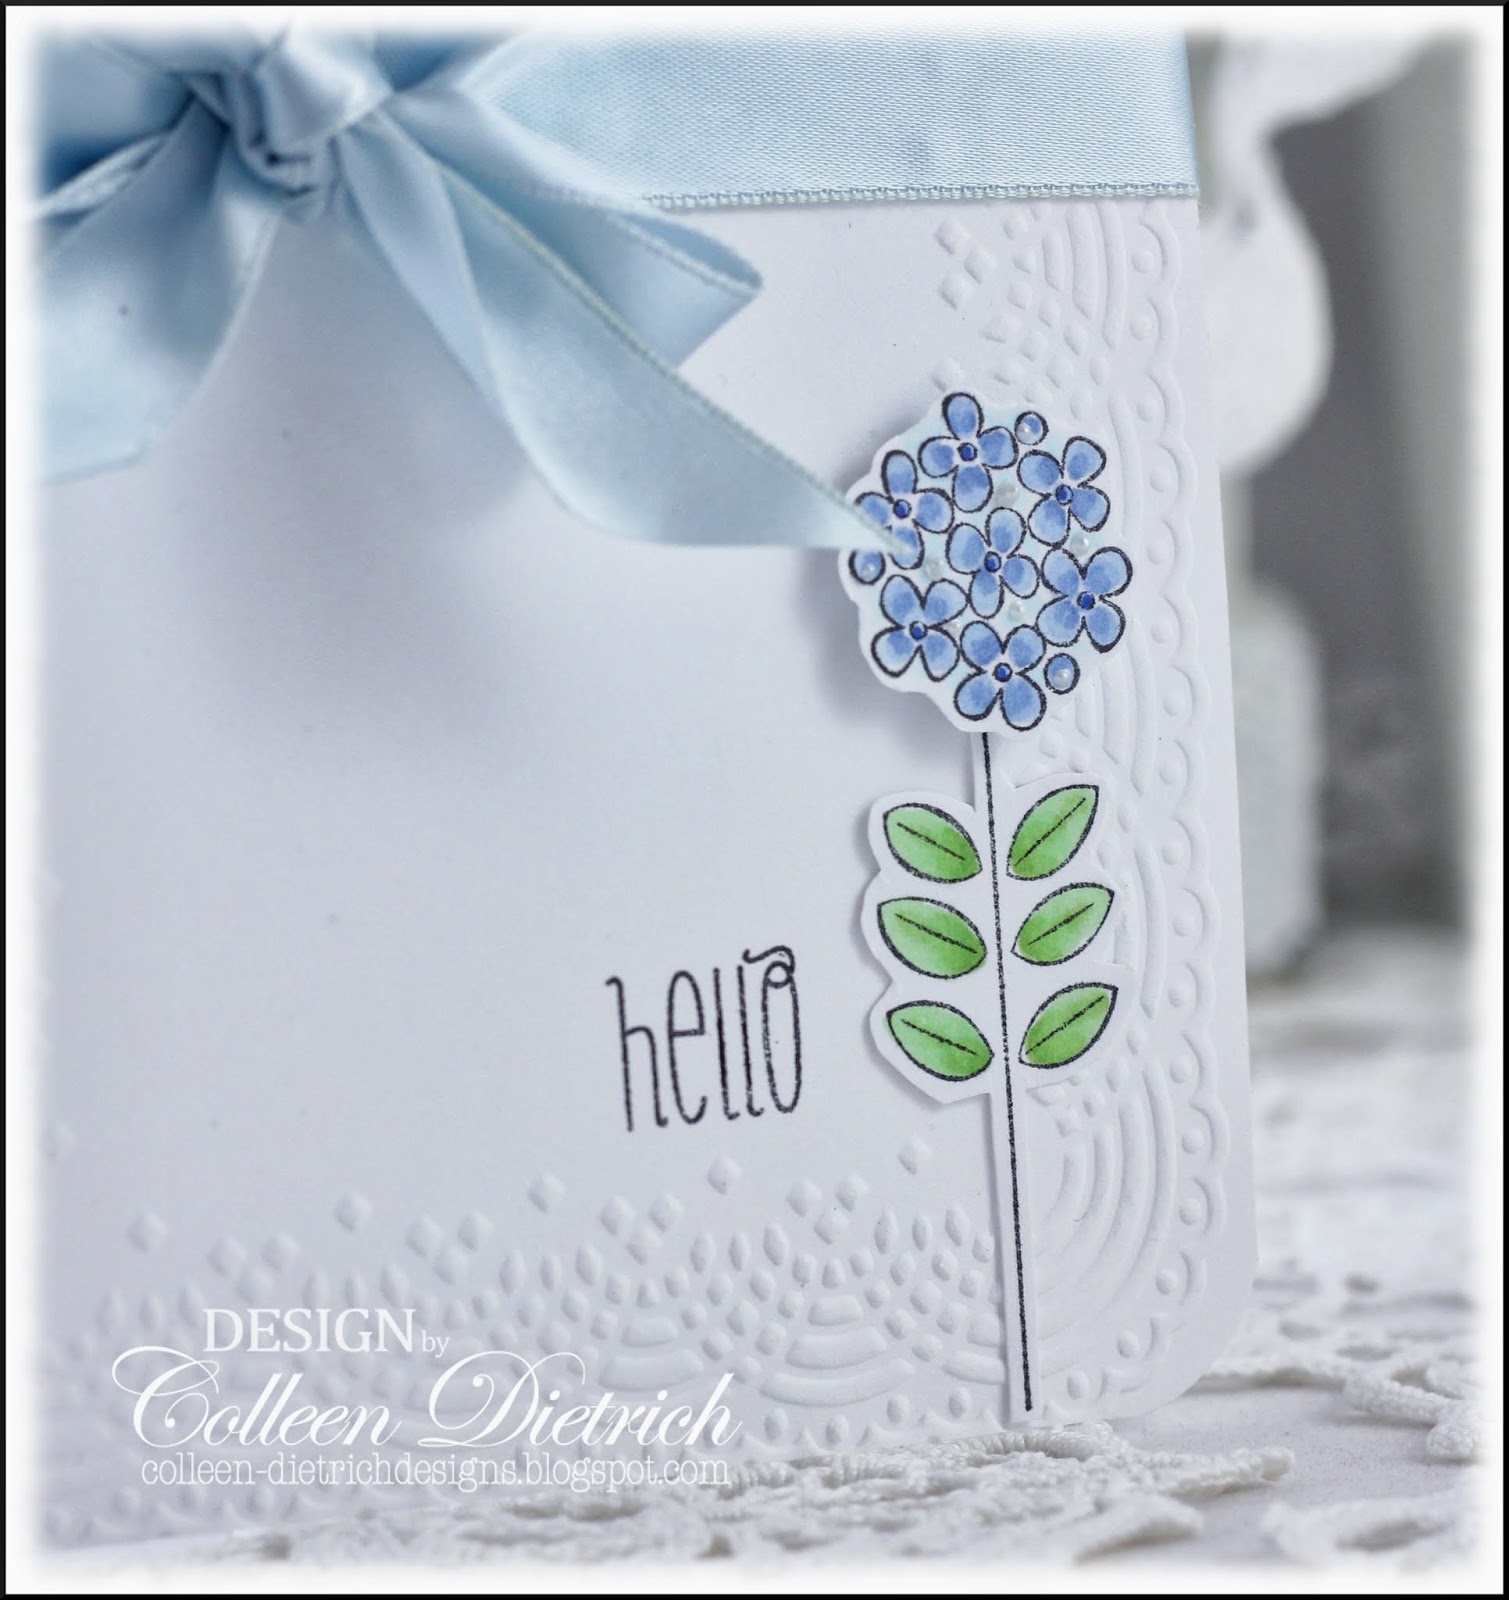
This was made with lots of hydrangea punches and rose leaf punches, all from Martha Stewart.

I've been meaning to make one of these in shades of purple/blue, but haven't had time.  (I did, however, do a hydrangea card recently)  Oh, I have LOADS of ideas, mind you...just not enough time to make 'em all reality!  LOL

Just had to share a fishtail braid I did on my 10 YO.  It's lots of fun to do, but usually she won't let me touch her hair (been that way since she was about 2 years old!), so this was a real treat for Mom.  :-)


Thanks for joining me today.  I love when you visit!


Dimensions: 4.25" x 5.5"
Stamps: Planted with Love - Mark's Finest Papers
Paper: yellow, pink, green cardstock - DCWV
Ink: Versafine Onyx Black - Tsukineko
Other: pearls; Rose Leaf, Hydrangea punches - Martha Stewart; Corner Rounder punch - EK Success

Monday, January 23, 2012

Happy Holidays

Color Throwdown has a very Christmas-y color challenge this week.  Check out the colors:


I tried to use up some skinny paper scraps (all Stampin' Up!, from those $1 Scrap Bags), and came up with quite the horizontal card:


The holly and ivy cluster is from SU's Sleigh Bells Ring, stamped/colored/and trimmed.


This past weekend we had snow on Saturday, and then a layer of ice (not nice!).  By Sunday, most neighbors had shoveled their sidewalks, so my 10 YO and I took our wagon full of Girl Scout cookies 'on the road'.  We sold 20 boxes, which brings our total sold to 86!  We just started selling cookies this past Thursday, and were given an initial load of 100 to sell.  The ladies at our bank told us to come back on pay day, and we should be able to sell more!

Colleen

Stamps:  sentiment, Seasonal Poinsettias - MFP; Sleigh Bells Ring - SU
Paper:  Crumb Cake, Very Vanilla, assorted patterned paper strips - SU
Ink:  Versafine Onyx Black, Memento Tuxedo Black - Tsukineko; Walnut Stain, Frayed Burlap Distress - Ranger
Punch:  scalloped border - SU
Other:  Big Shot; jingle bell; twine - red and natural, Vintage Wallpaper Embossing folder, lace scrap - SU; Copic markers

Monday, November 14, 2011

Quick and Easy Christmas, Part 2

Hello!  I wanted to share another quick and easy Christmas card with you.
At Christmas Card Challenges, we are to be inspired by this picture:


Working with the colors from the inspiration pic, I made this with spare parts from my scrap box.  The flower was already stamped and assembled for another project a few years back.  It's Stampin' Up!'s Vintage Vogue.  The die cut is Elegant Flourishes by Sizzix/Tim Holtz.  This went together in a jiffy!

I've linked this card up to the monthly Christmas Card Challenge on Splitcoast, and also the Ways To Use It challenge there, which is SPACE (filling in the space around your card with something 3D).

I just finished wrapping up my card for Thursday's new challenge at The Play Date Cafe.  I can't wait for you to see it!  It's just too darn cute, if I say so myself.  :o)

Thanks for popping by!

Colleen

Stamps:  sentiment - Time To Chill - MFP; Vintage Vogue - SU
Paper:  Garden Green - SU; white - PTI
Ink:  Real Red, Basic Black - SU
Other:  Big Shot; Elegant Flourishes die - Sizzix/Tim Holtz; bling

Sunday, November 13, 2011

Candy Boxes

Every year, my girls love to make Candy Boxes for their friends as little Christmas gifts.  My Stampin' Up demo, Gail Murray, taught me how to do these several years ago.  I created a tutorial for you, in case you want to make them too.  Warning:  lots of pictures in this post!

Finished boxes:


You will need for each box:
  • 3 assorted patterned papers 
  • 3 coordinating scraps of cardstock
  • Stamps of your choice:  small image for Belly Band, greeting for inside
  • Ink
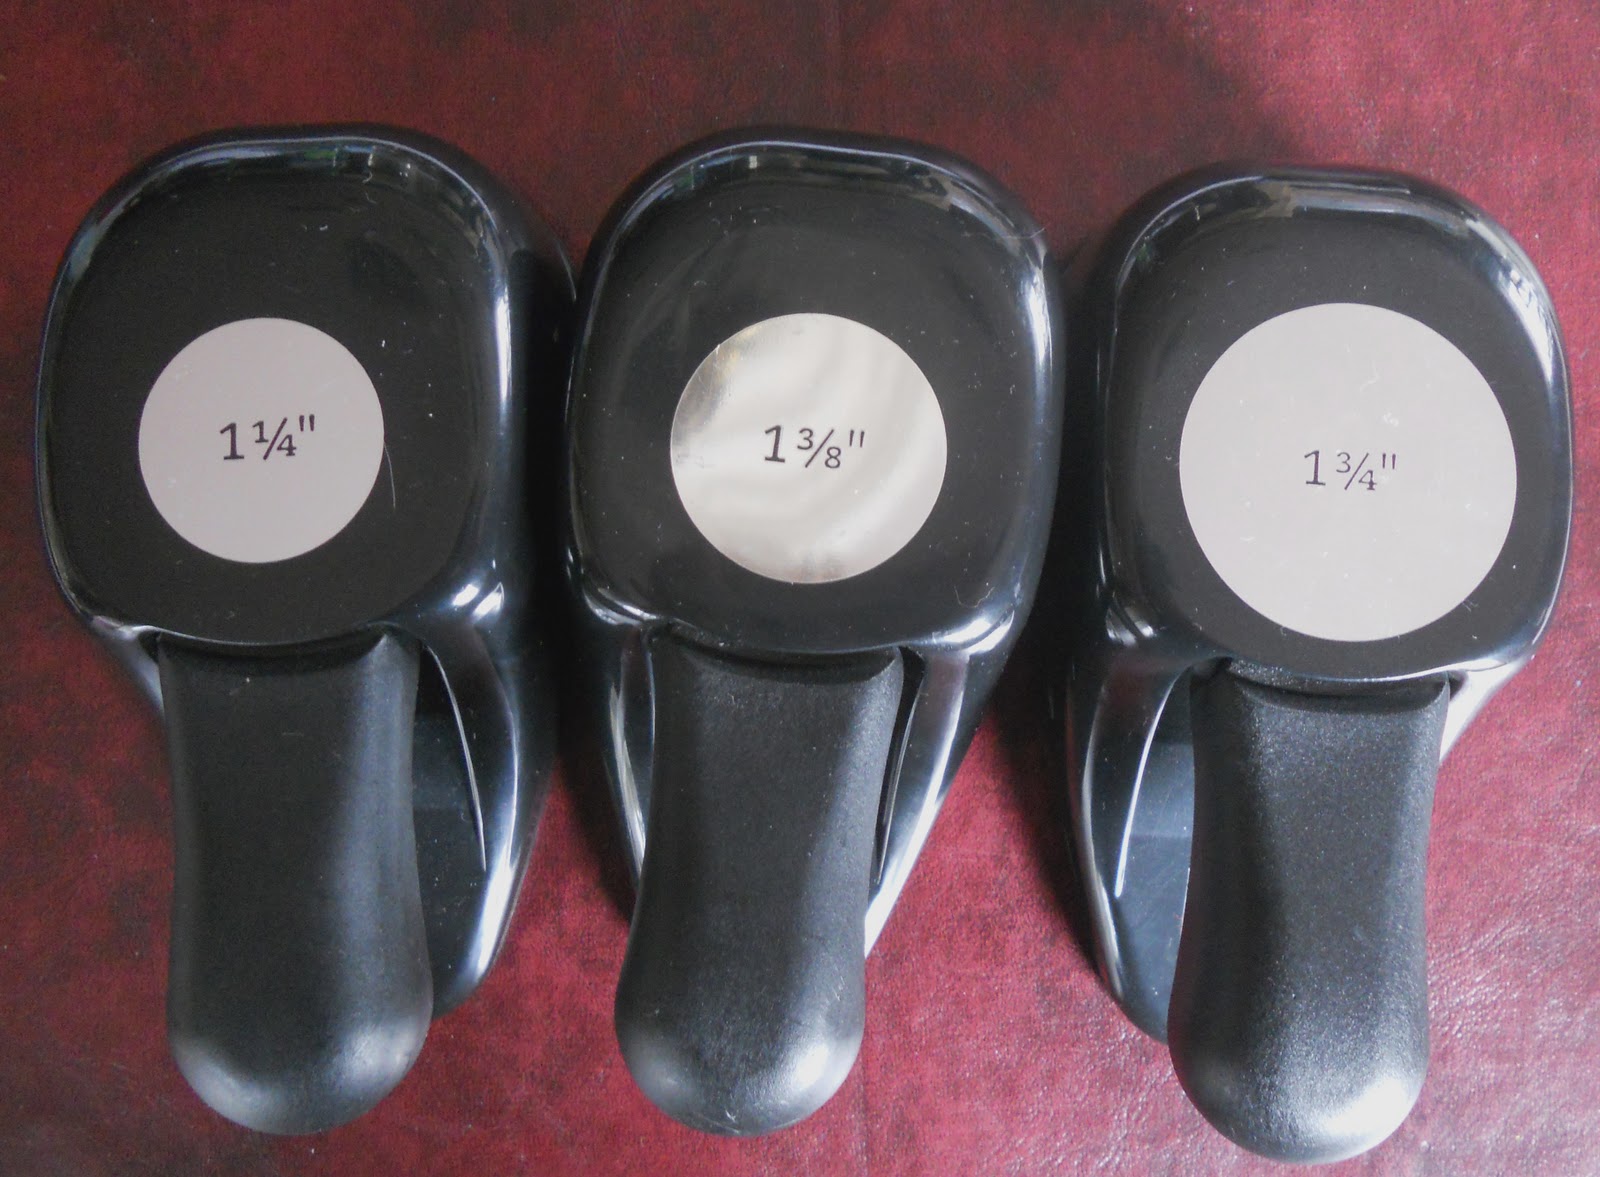
  • Circle punches:  1 1/4", 1 3/8", 1 3/4"
  • Adhesive
  • Paper trimmer & scoring tool
For this tutorial, I have used plain computer paper.  I have also drawn lines for demonstration purposes only.  Blue lines are for scoring, red dashed lines are for cutting

For box bottom:
Cut a piece of cardstock or patterned paper into a 6 7/8" square.
Score each side 1 7/8" from edges.
Trim off each corner, shown by the red dashes.
I use my paper trimmer to cut off the corners by lining up edges of scored lines in the trimmer's 'gutter' or channel.
This is what your box bottom should look like. 
Stamp sentiment or image inside square.
Pinch corners of box bottom as shown above and below.
Choose to leave corners as they are, or secure with adhesive (even Scotch tape).
For box top:
Cut a piece of patterned paper into a 5 1/8" square.
Score each side 15/16" from edges.
Cut each corner as shown, making sure that
cuts all run in the same direction.
Flip paper over to the side you want as the inside of the lid.
Place double-sided adhesive on corners marked with an "x".
Assemble corners as shown and place lid on box bottom.
For Belly Band:
Punches needed for label.
Stamp image, then punch circles in coordinating cardstocks; assemble with double-sided adhesive.
Cut 11" x 1" strip of patterned paper.
Adhere label to center of paper strip.
Lay strip and label over box lid,
centering label.  Do not secure.
Flip box and belly band over.
Place adhesive on one end of band, as shown.
Secure ends to each other.
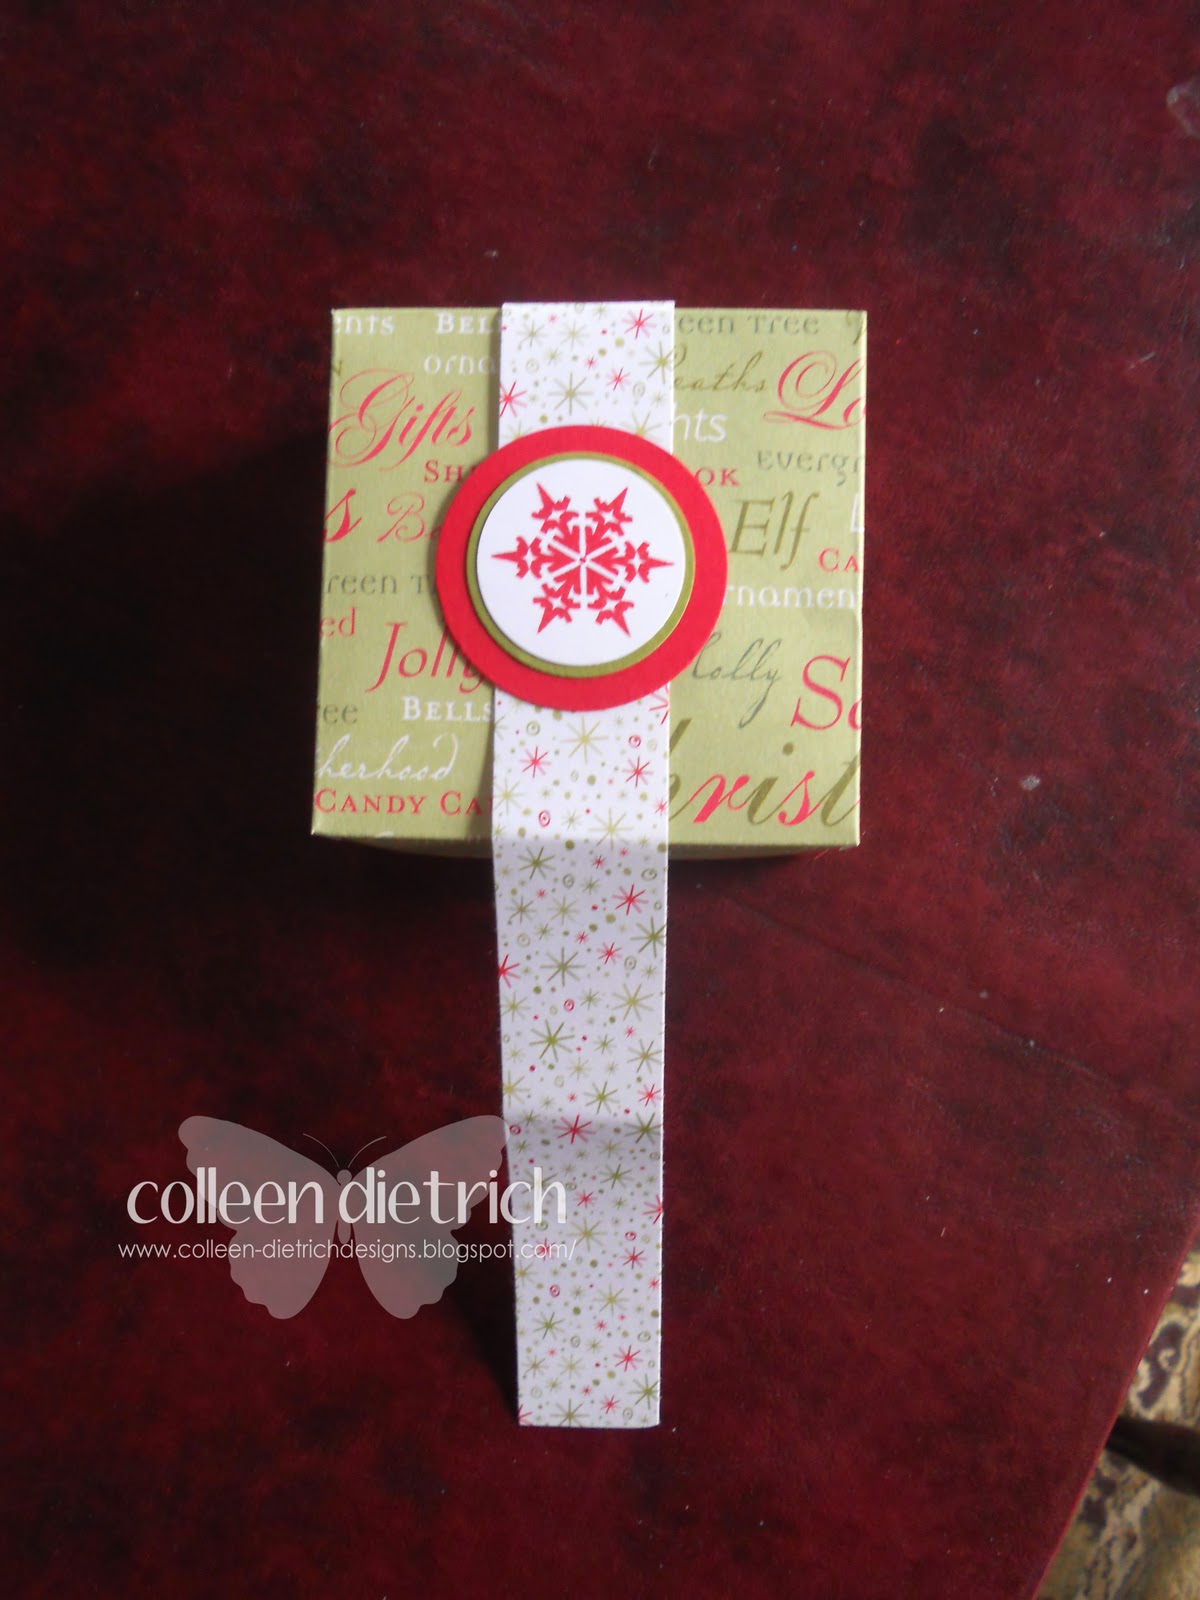
Completed box. 
The belly band slips off box easily, and helps hold lid and box together in a pretty way.
Our projects, mid-way through assembly.
We need quite a few more!
I am entering this project at Tuesday Throwdown, where the challenge is to use our favorite color combo.  I LOVE red and green together for Christmas, especially this olive shade of green.

I do hope you have enjoyed this tutorial and want to give these a try.  They are easy to make, otherwise, my kids wouldn't want to do them!  LOL

Colleen
Related Posts Plugin for WordPress, Blogger...