Showing posts with label congratulations. Show all posts

Saturday, June 12, 2021

You did it!

Hello there!  One day I started playing around with some snippets of interesting patterned papers from my stash (these are all older ones, from Stampin' Up!) and stacked them in a pleasing way.  I guess the ledger paper reminded me of school, which reminded me of graduation. And so this card began!

Hero Arts Everyday Sayings sentiment stamp; Impression Obsession Mortarboard and Scroll die; Papertrey Ink Wonderful Words: Congrats die; ledger, Stampin' Up! 'royal garden' and striped patterned papers; Inkadinkado Floral Damask damask stamp

I used a damask stamp as a very subtle backdrop for the mortarboard and 'congrats' die cuts; you can barely see it.  The Distress Ink called Antique Linen is a favorite of mine for creating super-subtle designs.

The finishing touch is a sentiment from Hero Arts, near the top.   I like how this turned out; it's rather different for a graduation congrats card.

Wishing all the grads of 2021 the very best!  So glad many of them actually got to have their ceremonies in person this year, as compared to 2020.  

My youngest daughter's graduation day in 2020.

My oldest daughter's senior year pic, side by side with my own.😊

The years are flying by!

God bless you!

Tuesday, April 7, 2020

Mend A Broken Heart, You Are Amazing & Miss Your Smile

Hello everyone!  I'm popping in real quick to share a few more creations that had made their way to Arts Plus Gallery in Collingswood for sale, before the coronavirus quarantine took over.

Unity Stamps Mend Your Heart thimble, needle, sentiment stamps; Gina Marie Designs Eyelet Elegance Rectangle die; Kat Scrappiness Wonky Wavy Stitched Rectangles die; buttons; doily; Spellbinders oval die

Stampin' Up! A Little Smile sand dollar, sentiment stamps; Impression Obsession Starfish stamp; Golden Acorn Scallop Shell stamp; Hero Arts Canvas Stripes Background stamp; pearls; L'il Inker Designs Stitched Rectangle die

Papertrey Ink Happy Hydrangea flower and frame stamps, matching dies, and Pen & Ink sentiment stamp; Sizzix/Tim Holtz Bricked embossing folder 
Since my last post, a lot has taken place here at home.  I cleaned every item in my china cabinets, and shined up the glass shelves and polished the wooden ones.  That is a HUGE undertaking.  I rarely do it because it is so time-consuming.  But, it's finished now, and will hold me for a while. 😀  I am also polishing some silver items like baby cups, a few special spoons we have in our kitchen drawer, and water pitchers.  Again, time-consuming, but worth it to me.  Also I cut a lot of fabric on Sunday, to make face masks for me and my family.  GOSH that took a lot of time!  Next I need to sew the straps, and then the masks.  It's slow-going, because I am still working.  And finally, we had a pretty bad water leak under our kitchen sink early Sunday morning.  It flooded the cabinet, and then across the kitchen floor, under the refrigerator and stove, and seeped into the basement and SOAKED floor joists, board games, cabinets, storage tubs...it even got into our dryer!  Unbelievable.  That was not a good way to wake up Sunday morning.  I had plans for a relaxing day, but that was not to be.  Our insurance company sent a clean up team right away, and we've got big loud fans and dehumidifiers in the kitchen and basement.  Our kitchen Pergo floor is a little buckly (I made up that word), so we may need to get a new floor.  And we just had that installed a year ago.  OH WELL.  Could be much, much, much worse!  It's just an inconvenience, after all.  😏

Other than that, this is the day the Lord has made, we will rejoice and be glad in it!  Psalm 118:24

We are here, we are healthy, and that counts for so much. 💖

Wednesday, March 11, 2020

Shine Brightly Little Star

Hello there!  Hope you've had a great start to your week!  The weather feels like spring here in the northeast, and my daffodils and crocuses are blooming.  So beautiful!

I've got just one card to share with you today.  It features the sweetest sentiment from Verve's Shining Star.  I paired it with silver and blue, which felt as natural as the night sky.

Verve Shining Star sentiment; Fiskars small star punch; Stampin' Up! star border punch

The silver cardstock, star-studded border was in a scrap bag from my Stampin' Up! demonstrator.  It's perfect as is!  I saw that in the bag, and knew I needed to use it as a border for a card.  It shines, well, like a little star!  LOL

Have a wonderful rest of your week, and enjoy the little blessings that each of us receive every single day. 😀

Sunday, February 24, 2019

Sunflowers, Daisies and Tulips

Hello there!  I realized as I sit at the computer to share these cards, each one involves scraps from the Stampin' Up! scrap bags I buy from my friend.  What I love about using the goodies I find in those bags is the special challenge it gives me.  Not knowing what my friend's projects looked like (for her SU stamping club), I have to pull together my supplies and come up with something worthy to finish them.

The first card was SUPER easy, because the whole focal panel was already stamped for me!  I mounted it on a pale gray card base, with an orange panel and gold mirror cardstock strip.

stamped panel from scrap bag, all SU supplies

The next one has a pale gray base, too.  I always have a stash of pre-cut, scored card bases ready to go, but when I run out, and all I have is pale gray...well, then you'll see lots of gray cards. 😉

Stampin' Up! sunflower, leaves - Papertrey Ink 'Keep It Simple: Sympathy' sentiment

The next card was a little more challenging for me.  This white panel had bright yellow and coral inks (and a tiny bit of blue) sponged onto it and a navy branch with berries stamped in one corner.  I started by matching up some Groovy Guava die-cut flowers and decided to go with Tempting Turquoise or Taken With Teal (can't remember) as a coordinating color.  I layered on the flowers, alternating colors and heights.  The house was stamped, trimmed and left in a black and white state to draw attention to it amidst the riot of color.

My Favorite Things/Die-namics 'Sensational Stitched Flowers' dies - Stampin' Up! 'Holiday Home' house stamp

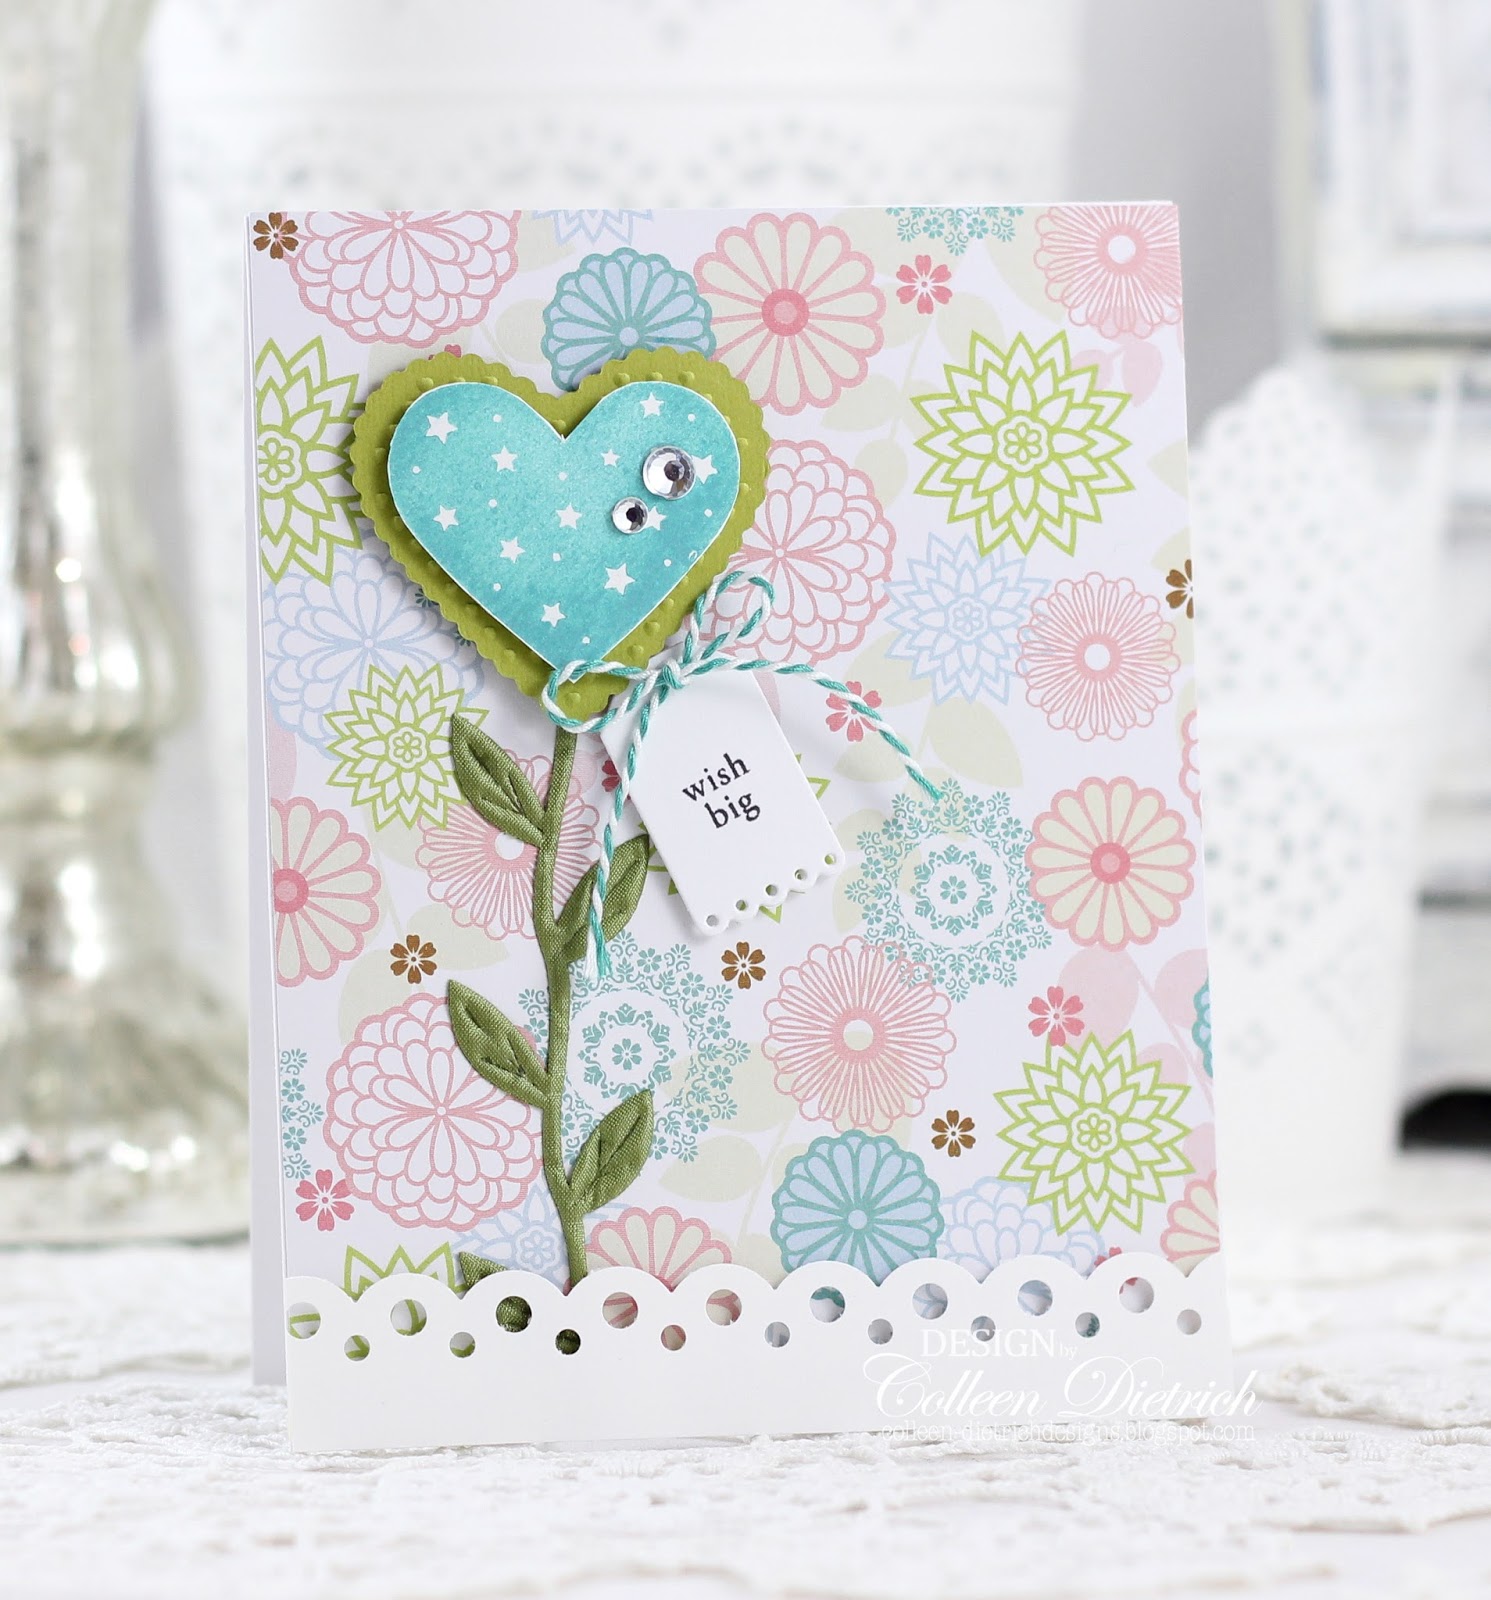
As you can see by the next card, there must have been a few projects going on at my friend's stamp club that involved these colors!  The stamped panel came as-is, so I added the die -cut flowers, rhinestones, and tag with sentiment for a 'Congratulations' card.

Stampin' Up! 'Absolutely Fabulous' sentiment - My Favorite Things 'Sensational Stitched Flowers' dies

The last card began with a panel of gold/cream patterned paper, which for some reason reminds me of The Flintstones t.v. show I watched as a kid.  LOL  It had a square stitched frame opening, but it was not cut straight (which is probably why it was in the scrap bag! 😄).  I didn't want to waste any of the gold paper but cutting it down further, so I looked for a way to disguise the wonky opening.  I added the other piece of cream stitched square die cut center, putting it back in place basically, and then topped it with a garden of tulips that I stamped and hand-cut.  My hope is that they camouflage that opening.  I also put two ivory enamel dots near the bottom to draw the eye away from the center.

Blockhead Paper Arts 'Flower Garden' - gold/cream patterned paper from Stampin' Up!

Thanks so much for your visit, and God bless you!  Have a wonderful day!

Wednesday, February 28, 2018

Cheers & Wishes

Hello there!   Today's two cards were fun to put together, using up scraps from around my work desk. It's my favorite type of card-making challenge! 


The grape stencil looking stamp is an old one from Stampin' Up!, but I sold the set and can't remember the name of it.  I colored the stamp with markers so I could achieve a three-tone look to it.  I stacked it on top of green, light brown, and shimmery gold squares.


The next card is, well, not exactly a 'Colleen' card, but the scraps were calling to be put together, and this was the resulting design.  Both stars are golden, punched from mirrored cardstock.


Before I sign off, I want to share a quote from Mother Teresa that I recently found.  It's thought-provoking. 

“These are the few ways we can practice humility:

To speak as little as possible of one's self.

To mind one's own business.

Not to want to manage other people's affairs.

To avoid curiosity.

To accept contradictions and correction cheerfully.

To pass over the mistakes of others.

To accept insults and injuries.

To accept being slighted, forgotten and disliked.

To be kind and gentle even under provocation.

Never to stand on one's dignity.

To choose always the hardest.” 

― Mother TeresaThe Joy in Loving: A Guide to Daily Living

Thursday, May 4, 2017

Red, white, blue and gold Graduation

Hi! I added this card to my basket of goodies for sale at Arts Plus Gallery in Collingswood last week, since graduation season is upon us.

I was definitely feeling a patriotic vibe when I created it. This is not my usual palette of colors! Had to throw in some shiny gold cardstock and gold sequins to add a little razzle-dazzle:


I created a faux-embossed look on the navy panel by using some punched and die-cut stars also in navy cardstock. It's a nice subtle touch to add more interest to an otherwise simple card. The sentiment is from Verve's Purely Sentimental set.


So glad you came by for a visit.  Enjoy your day!

Creating our tomorrows

I'm back with a graduation card that has a different feel to it, a departure from my normal style. I don't usually use arrows very much, but this fun piece of patterned paper was the inspiration behind the card.


I should have had the arrows pointing the other way but once the paper was glued down, there was no turning back! This card could be for a guy or a gal, and the focus is on achieving goals and dreaming big for the future. The sentiment is from DRS Designs, We Create Our Tomorrows. I stamped it on a die cut from a Spellbinders frame, and settled this on a piece of wood-look patterned paper. Cloud die cuts (Papertrey Ink), golden stars, a dash of sequins and a strip of gold glitter paper give this card a dreamy vibe (at least, I hope).


Thank you for coming by today!

Friday, April 14, 2017

It's About Time

Happy Friday! I love when Friday comes around. :-)

Is there such a thing as too many clocks? There may be too many on the masculine birthday card I'm sharing today, ha ha! Between the patterned paper (Colorbok) and a few stamped-and-trimmed-out time pieces, there are at least 25 of them!


I added a couple of buttons and sequins to balance the cluster focal point.


The small watch above is a stamp from Vintage Traveler by Our Craft Lounge.


The large clock stamp is from the stamp set Paris, and the small pocket watch (also above) is from Vintage Pieces - both by Inspired By Stamping.

Thanks so much for visiting, and have a WONDERFUL weekend!

Monday, March 27, 2017

A house in damask country

Hey there!  Thanks for visiting here today.  I've got a New Home card to share in springtime shades of blue, pink and green.


I started with some patterned papers from my collection (I cannot remember what I used here!), along with a house and tree from Stampin' Up!'s Holiday Home stamp set.  The cloud dies are from Papertrey Ink.

Can you see the "buds" on the tree?  I used Petal Pink and White Opal Liquid Pearls.
Under the house and tree there's a strip of white glittered cardstock. It was a scrap lying on the craft table, and I thought it tied in nicely with the puffy white clouds above.


I hope you are enjoying your day!
Thanks for coming by!

Friday, November 18, 2016

Apples for a special couple

If you view this post, it should count as two servings of fruit for you today. ;-)

I made this almost a year ago, as a thank you for a special couple who were our hosts at Christmastime. This card is chock-FULL of personal, custom details.


1.)  Our hosts' last name begins with the letter C. I used chipboard tiles from Girls' Paperie, and I ran an 18kt Gold Pen from Krylon around the edges of these tiles.


2.) Our hosts live on a street that is named for an apple. I used the stamp set, Apple of My Eye by Flourishes for the focal point, and colored with Copic markers. Just barely visible, I stamped the word 'apples' in the background very faintly.

3.) Our hosts' house # is 3.  Again, another chipboard piece from Girls' Paperie came to the rescue.


4.) Their home is cozy and full of style. I chose a gingham pattern to go along with the apples...I think they make a good match. :-)


Thank you so much for coming by today!

Wednesday, November 2, 2016

How does your garden grow?

~Available at Arts Plus Gallery

Well, my garden outside isn't doing a whole lot of growing right now, but we do still have some blooms lingering on the annual flower plants we've left in place for now.

Luckily, in the world of papercrafting, flowers are ALWAYS in bloom! Hooray!


I had stamped this heart a year ago, and it was waiting to be used (Hero Arts Year Round Sentiments),  so I turned it into a flower.


There's a die-cut heart (Heart of Heart Embosslits - Stampin' Up) behind the starry heart, some leafy ribbon as a stem, and a little Tiny Tag (Papertrey Ink Tiny Tags stamp set and die) tucked in.


The Martha Stewart Scallop Dot border punch helped create a 'window box' to plant this flower in.

Thanks so much for coming by today!

Tuesday, October 4, 2016

Autumn Congratulations

Available at Etsy and Arts Plus Gallery 

I love October! It's the month of our wedding anniversary, and oh what a beautiful day we had 22 years ago! The air was crisp, tree leaves had turned to gold, crimson and orange, and our hearts were so full. :-D

I know that the fall is a popular time for weddings, and that's what inspired me to create this card. With a cluster of leaves, a golden "congrats", and a blank interior, this is perfect for weddings AND anniversaries. :-)


I started with a white card base, and stamped it with French Script Background (Stampin' Up!). I did cover a lot of it, though, with some autumnal patterned papers, so just a bit of the script peeks out. Those leaves, wow, aren't they pretty? One of the best purchases I made: Lawn Fawn's Stitched Leaves die set. Love!

I used various colors of oranges and beige to create the leaf cluster, and topped them with a two-tone seam binding 'Colleen bow'. A sprinkling of matte and shiny gold sequins were tucked in, too.


The 'congrats' die is from Papertrey Ink, and I also used PTI's Luxe Gold cardstock. I used craft foam to die-cut the sentiment and glued it underneath for some added dimension.


Take care and thank so much for your visit today!  Enjoy this beautiful month!

Related Posts Plugin for WordPress, Blogger...